


Perfecting Pull-Up Form: Your Step-by-Step Guide
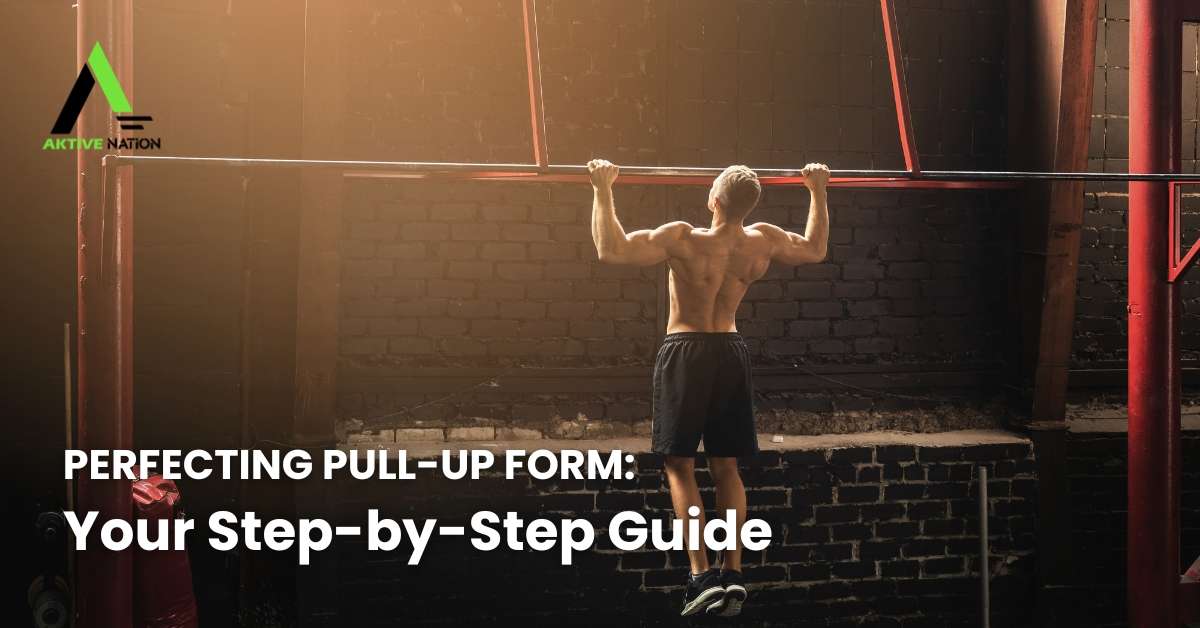
Pull-ups are a classic and effective exercise for building upper body strength. When done correctly, they engage various muscle groups, including your back, shoulders, and arms. However, mastering the proper form for pull-ups can be challenging. In this guide, we’ll take you through step-by-step instructions on how to perform pull-ups with perfect form, ensuring you get the most out of this fantastic exercise.
The Benefits of Proper Pull-Up Form
Before we dive into the steps for perfecting your pull-up form, let’s quickly review the advantages of getting it right:
- Strength Development: Pull-ups target your latissimus dorsi (lats), biceps, and other upper body muscles, making them a great compound exercise for building strength.
- Improved Posture: Strengthening your back and shoulders can help you maintain better posture, reducing the risk of slouching.
- Functional Fitness: Pull-ups are a functional movement that mimics real-life actions, making you more physically capable for various activities.
- Versatility: Whether you’re into bodyweight exercises or weightlifting, pull-ups complement a wide range of fitness routines.
Now, let’s get into the nitty-gritty of how to perfect your pull-up form.
Step 1: Find the Right Grip

Start by standing beneath the pull-up bar with your arms fully extended. The first step is to find the right grip. There are two common grip options:
1-Overhand (Pronated) Grip: Palms facing away from you. This is the standard pull-up grip.
2-Underhand (Supinated) Grip: Palms facing towards you. This is often referred to as a chin-up grip.
Choose the grip that feels more comfortable for you, but both are effective for building upper body strength.
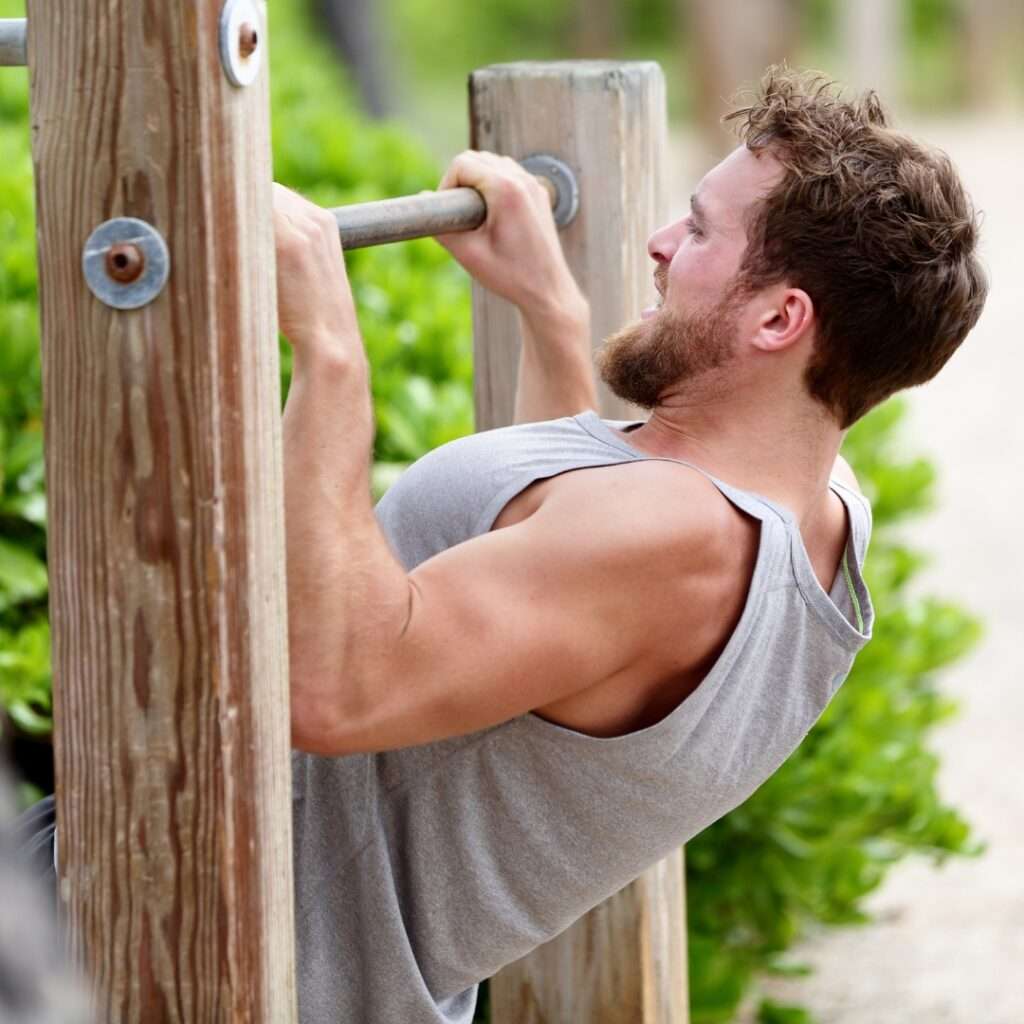
Step 2: Hang and Engage
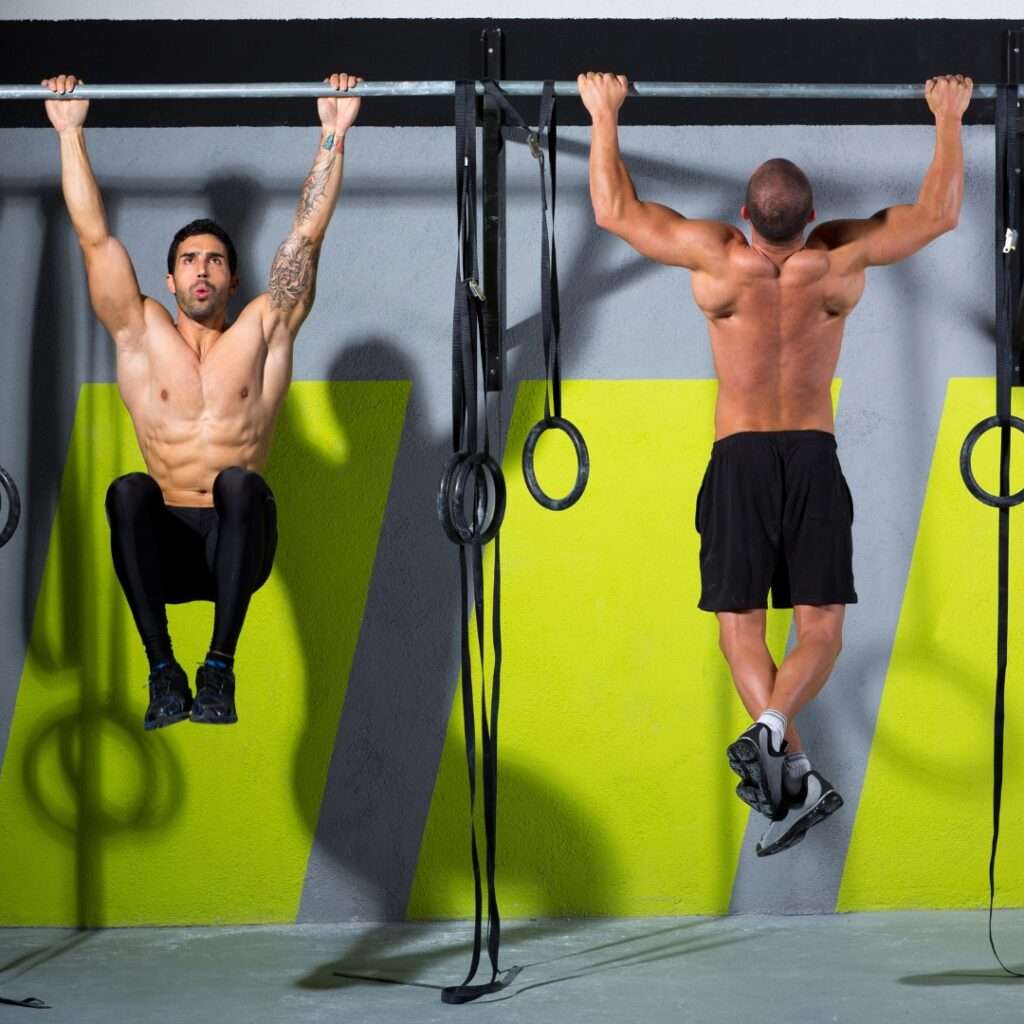
Once you’ve chosen your grip, jump up or use a step to get yourself into the hanging position. Your arms should be fully extended.
In this position, engage your shoulder blades by pulling them down and back. This engagement sets the foundation for the pull-up movement.
Step 3: The Ascent
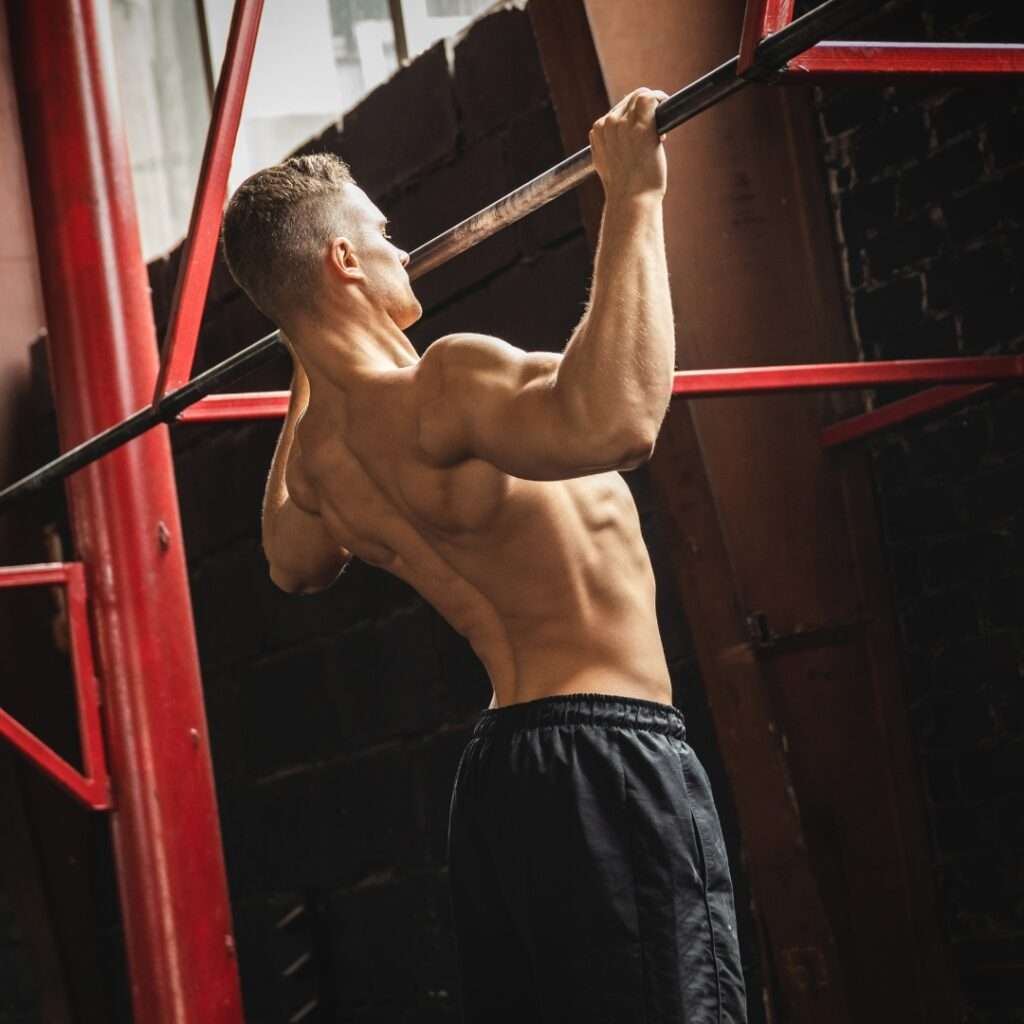
With your shoulders engaged, start the pull-up by leading with your chest. Keep your core tight and your legs together. Pull your body upwards by bending your elbows.
The goal is to bring your chin above the bar. Keep your movements controlled and smooth.
Step 4: The Descent
Lower yourself down in a controlled manner. Avoid the temptation to drop quickly. Fully extend your arms, but don’t hang passively. Maintain tension in your muscles to maximize the benefits of each repetition.
Mastering pull-up form takes time and practice, so don’t get discouraged if you can’t perform many repetitions at first. Start with assisted pull-ups or negative pull-ups and work your way up to full pull-ups as your strength improves. With dedication and proper form, you’ll soon be reaping the benefits of this classic exercise in your fitness journey.